
Chrome OS endpoint monitoring for Goliath Performance Monitor requires integration with Google Chrome Enterprise. Chrome Enterprise is an upgrade available from Google that allows you to manage all of your Chrome OS devices in your environment from your Google Admin portal.
Once connected to Goliath, your Chrome OS devices (Chromebooks) are added to Goliath's inventory for endpoint performance monitoring as well as integration with your Citrix session metrics for troubleshooting end user experience issues. Note: for integration with Citrix session, each Chrome OS endpoint must have a unique AssetID. Refer to Google documentation for details.
To add a Chrome OS environment to Goliath Performance Monitor, each step in this document must be completed, in order.
- Locate your Google Admin Customer ID
- Enable Chrome APIs
- Create a Service Account and Private Key File
- Manage Domain Wide Delegation
- Create a New Admin Role
- Add Chrome OS Environment to GPM
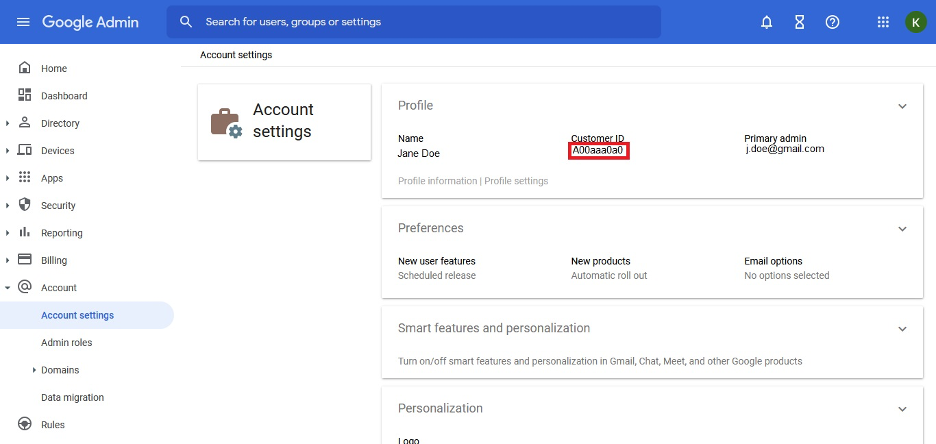
STEP 1: Locate your Google Admin Customer ID
- Log in to your Google Admin account.
- In the main menu, go to Account > Account Settings.
- The Customer ID is displayed in the Profile section on the right. You will need this for Step 7.
STEP 2: Enable Chrome APIs
- Log in to Google Cloud Platform (console.cloud.google.com).
- In the main menu, go to APIs & Services > Enabled APIs & Services.
- Click + Enable APIs and Services at the top of the page.
- Search for "Admin SDK API".
- Select Admin SDK API and then click Enable.
- Next search for "Chrome Management API".
- Select Chrome Management API and then click Enable.
STEP 3: Create a Service Account and Private Key file
- Within Google Cloud Platform go to Credentials.
- Click + Create Credentials then click Service Account.
Note: If you do not see Create Credentials option, you may need to first create a project. Create a Project by clicking Create Project, provide a project name, then click Create.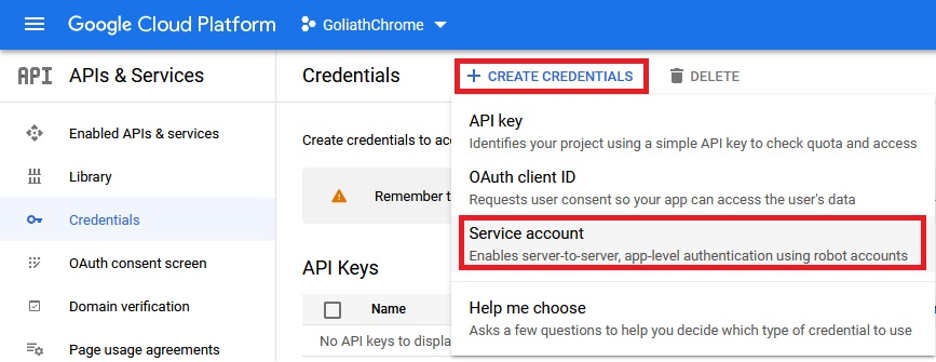
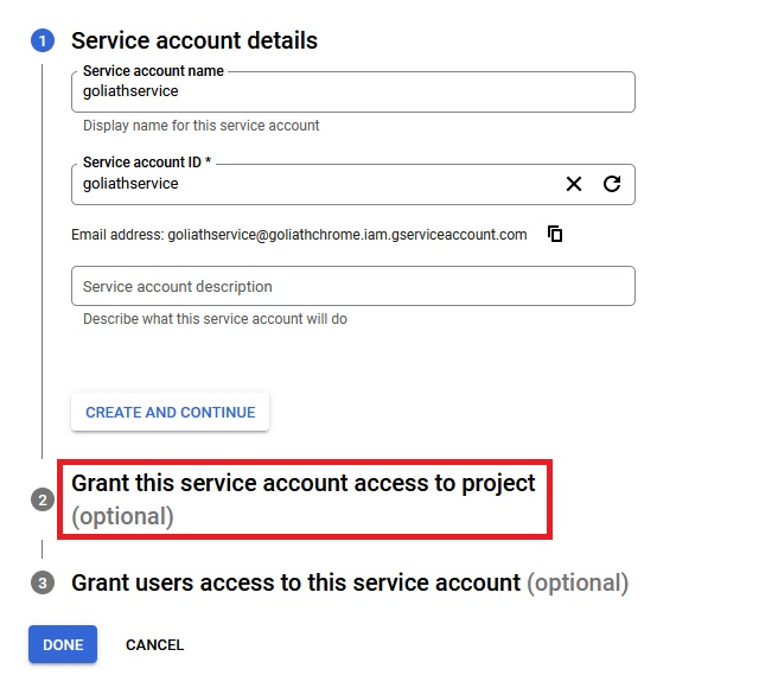
- Input a Service account name (enter any name you wish) and select Grant this service account access to projects.
- In the Select a role dialog, under Quick Access, select Basic then Viewer.
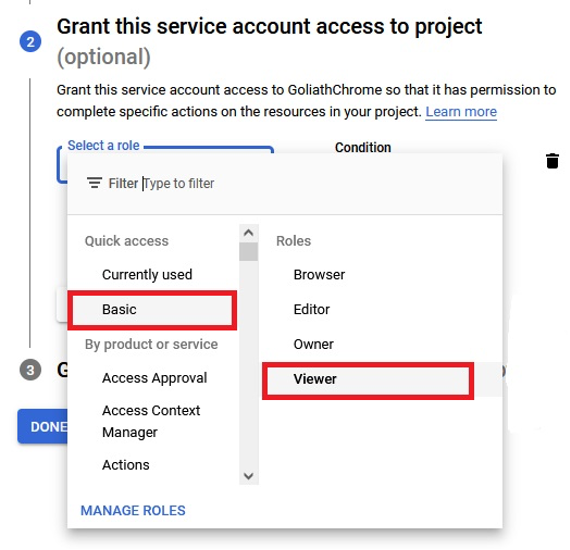
- Click Done and ensure there is a value for Unique ID. You will need this in the next section below. Also ensure there is a value for Email as you will need this when creating the Admin Role later.
- Next, click the service name you just created, then click the Key tab at the top of the page.
- Click Add Key.
- In the dialog that opens, select Create new key.
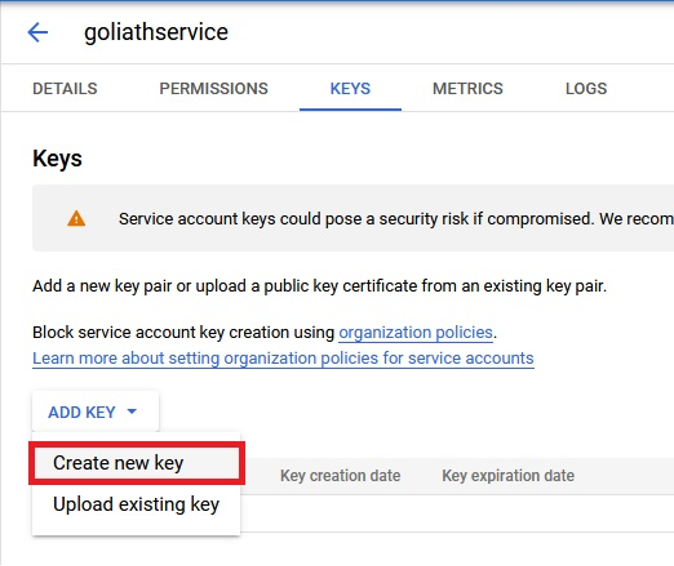
- For Key type, select JSON, then click Create.
-
The file is downloaded to your local machine. You will need this file later when adding the environment to Goliath.
STEP 4: Manage Domain-Wide Delegation
- Log in to your Google Admin account.
- From the main menu, select Security, then Access and data control, then API controls.
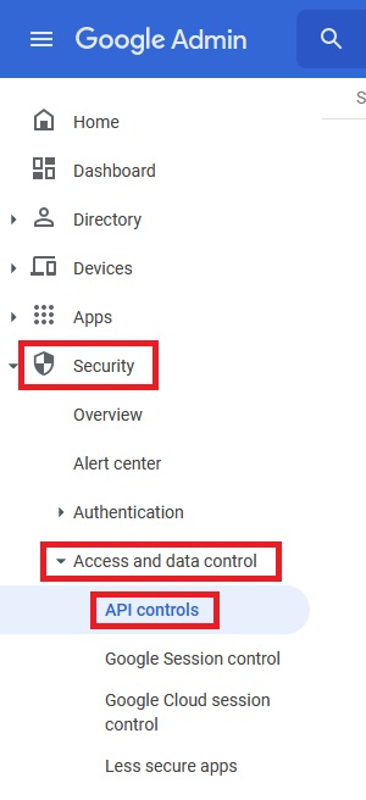
- Click Manage Domain-Wide Delegation.
- Click Add New.
- In the Client ID text box, enter the Unique ID you created earlier in the section above.
- In the OAuth scopes text box, copy and paste the following comma-delimited list of URLs:
https://www.googleapis.com/auth/chrome.management.telemetry.readonly, https://www.googleapis.com/auth/admin.directory.device.chromeos.readonly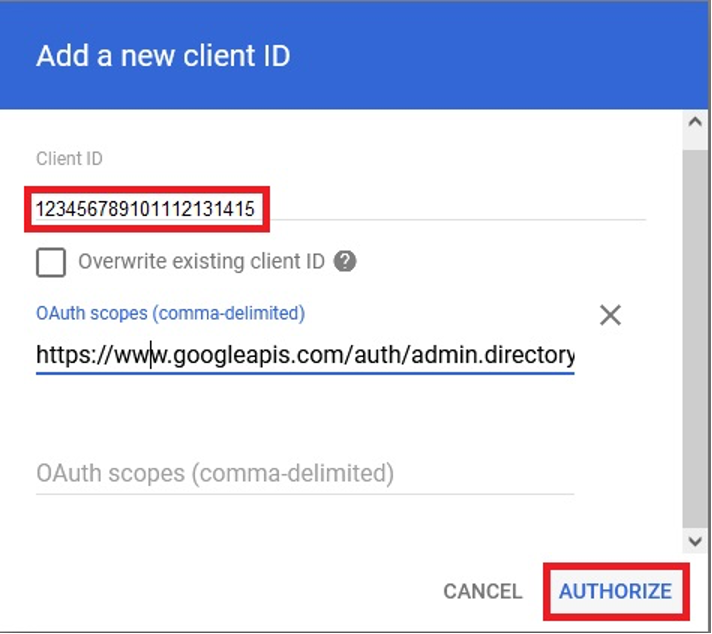
- Finally, click Authorize.
STEP 5: Create an Admin Role
- Log in to your Google Admin account.
- From the main menu, select Account then select Admin roles.
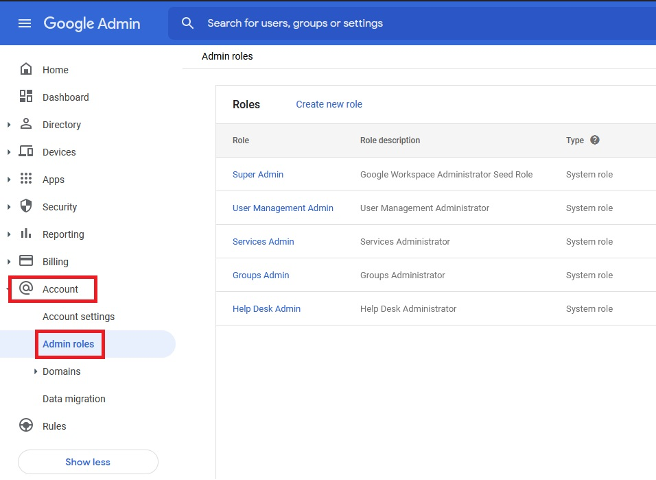
- Click Create new role.
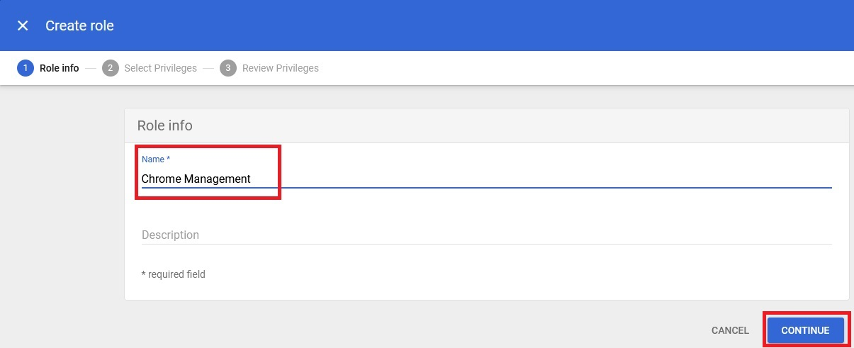
- In the Role info step, enter Chrome Management into the Name text box, then click Continue.
- At the Select Privileges step, scroll down to select the Manage Chrome OS Devices (read only) below the Manage Chrome OS Devices option.

- Click Continue and then click Create Role.
- Within the Roles table, mouse over the newly created Chrome Management role and click Assign Admin option.
- In the dialog that opens, click Assign service accounts
- In the Add service accounts, enter the Email address of the service account you created earlier and click Add.
STEP 6: Enable Citrix Workspace Integration Policy
- In the Google Admin console, select Devices > Chrome > Apps & extensions > Users & browsers
- Search for Citrix Workspace app
- Click the Citrix Workspace app icon
- The policy for extensions appears. Upload the JSON file created in Step 3
- Click Save
STEP 7: Add the Chrome OS Environment to GPM
- Log in to Goliath Performance Monitor Server and click Settings.
- Select Manage Environments and then click +Add.
- In the dialog that opens enter:
- Display Name: this can be any text string to identify the environment.
- Customer ID: from your Google Admin account (see above).
- Upload the Private Key JSON file you created using the options provided.
- Click Save.
- The environment is added to GPM and is displayed within the Environment table.
Your Chrome OS devices will populate into the Inventory and Status pages and, if using GPM to monitor Citrix, Chrome OS endpoint metrics will be displayed within your Citrix session metric dialogs.
Note: It can take up to one hour before data is updated within your environment. This is a known limitation of the Google Chrome OS APIs.
Integrating Chrome OS Devices with Citrix Data
To associate your Citrix sessions to Chrome OS endpoints, each Chrome OS device must have a unique AssetID. This is set in the Google Admin console.